Creating Menus
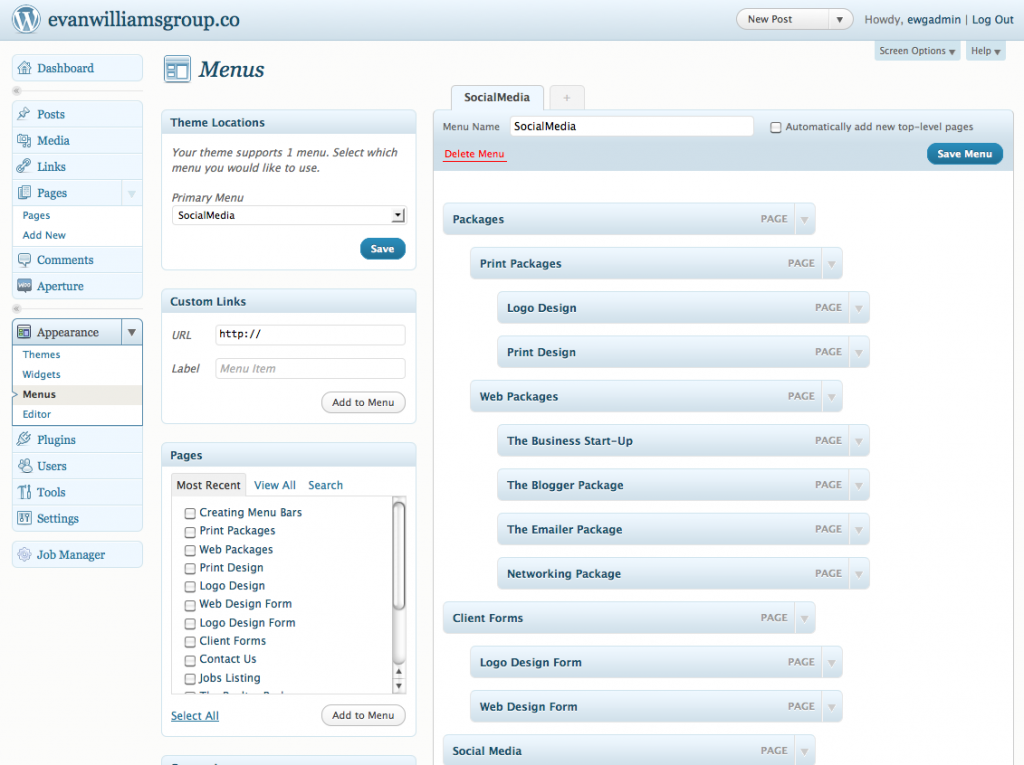
- In the tabs to the left, select the down arrow for more selections on the APPEARANCE category.
- Select MENUS to arrive at the screen shown here.
- Again it is important to follow each step before saving menu changes.
- Theme Locations:
- Always leave this set to your main menu
- Secondary Menu: leave blank unless you have created a secondary menu
- Do not press Save.
- Custom Links:

- Leave section as is
- Pages:
- The page that you just created will be shown at the top of the list.
- Select the page by checking the box and click on the ADD TO MENU box.
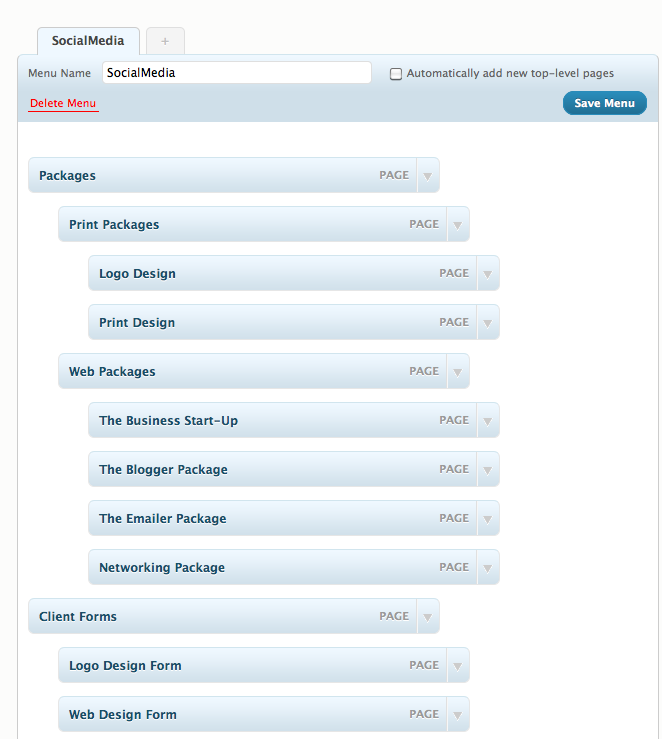
- This will put the new PAGE you created at the bottom of the list to the right of all your Menu Pages. To select the item, put your mouse over it and select it. This is where you can arrange the menu bar at the top of your web site. Drag the item to where you would like it to be. If you would like it to be a sub-category, just make sure it is placed indented to the right one spot. You can also create another level of menus if you want to indent a third item. See below.
- Save Menu: this makes your changes active on your website. Always double check with your web site to ensure the changes are working properly and things are where you want them to be.
The image to the right shows different menu levels that could be set depending on how you would like your web site to be organized. The image above shows one level of menu bars that would appear on your web site.
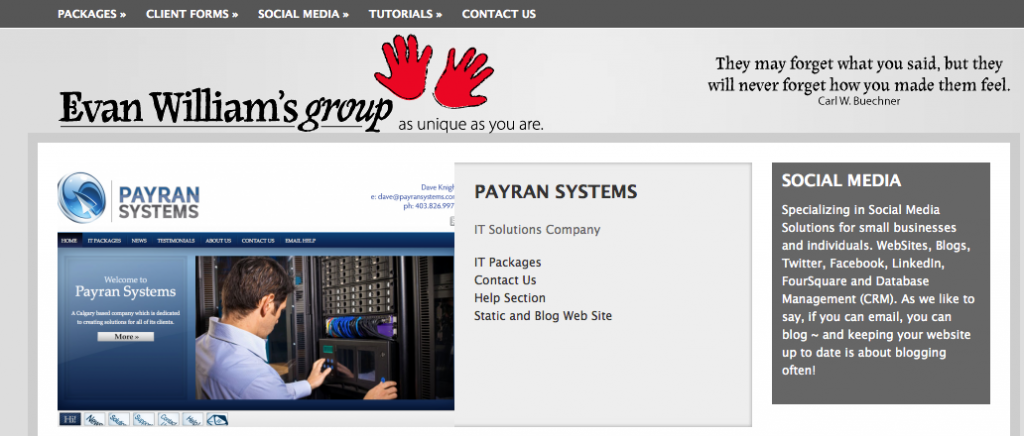
The image below shows the menu arrangement in the top bar of the website. Menu Items with the arrow beside them denote that their are sub-menus below each main item. Different website templates can have different numbers of sub-menus. Most are limited to 3 sub-menus at this time.


